If you know anything about gardening, you know that it is always a challenge to be on the lookout for good garden decoration ideas. You don’t want to sell out and go for store-bought decorations – those are tacky and artificial. Don’t you wish you could make your own garden decorations? A do-it-yourselfer has had this same problem and got creative. Here’s what she came up with.
DIY Cute Golf Ball Ladybugs
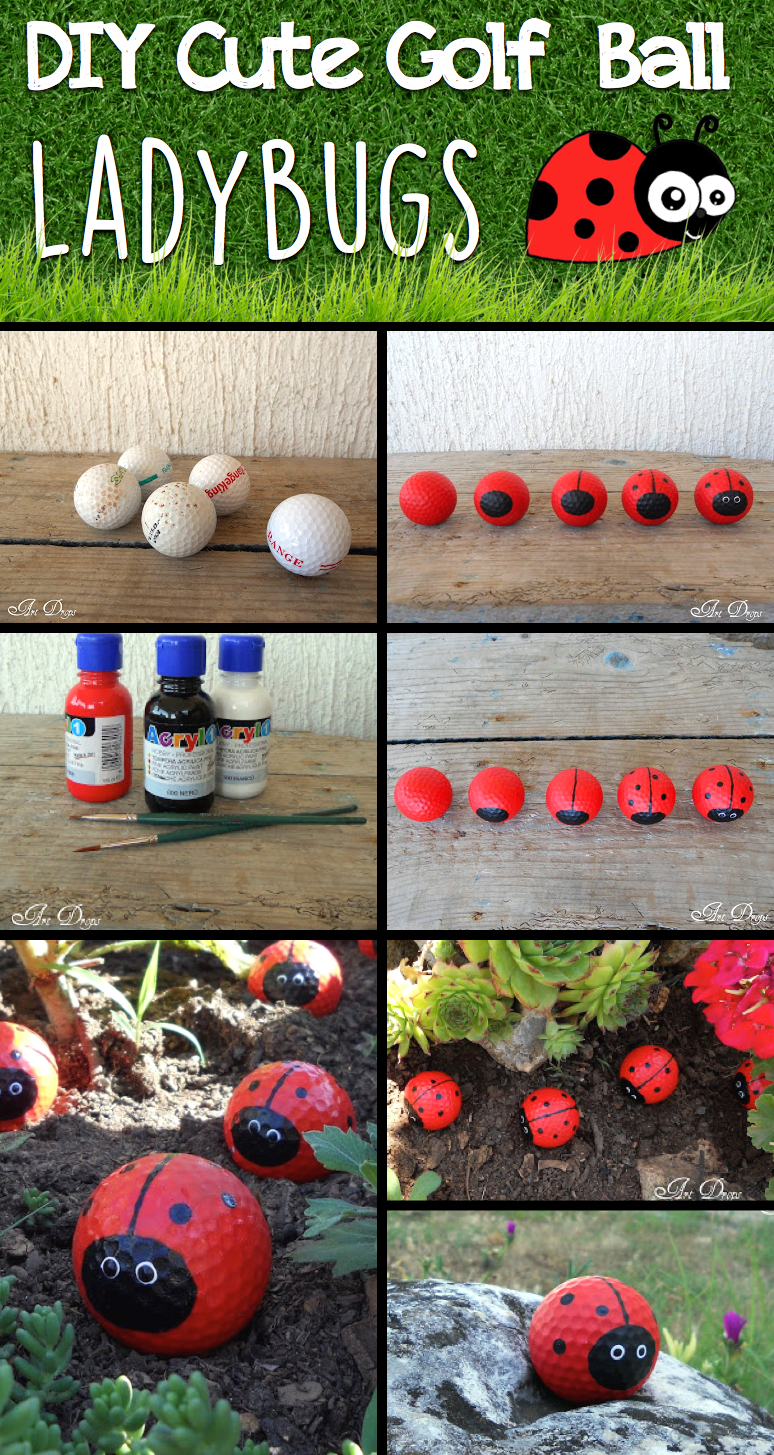
Ladybugs! To begin, find some old golf balls. You can find these at any thrift store or even in your own garage. If you would rather use something else, just about anything spherical in shape will do the trick.
Begin by sandpapering the golf balls everywhere. They need to have no extra gloss. Then, take some primer and spray it over the surface of the golf balls. This will allow paint to adhere to the surface without slipping or running.

Pictures via artdrops-tatjana
When the primer has dried, it is time to paint the golf balls. Get some acrylic pain in red, black and white. First, apply everywhere around the ball. Wait for the paint to dry, then paint the face and wings. The white is for little eyes in the front! Put these adorable bugs anywhere. They go great in soil, or they can hide in rocks! They’re hilarious decorations!
Check out the original article and tutorial here: artdrops-tatjana.blogspot.com
We hope you’ve enjoyed. Got any ideas to make this better? Leave a comment below! Also, don’t forget to share this project with your family and friends!
