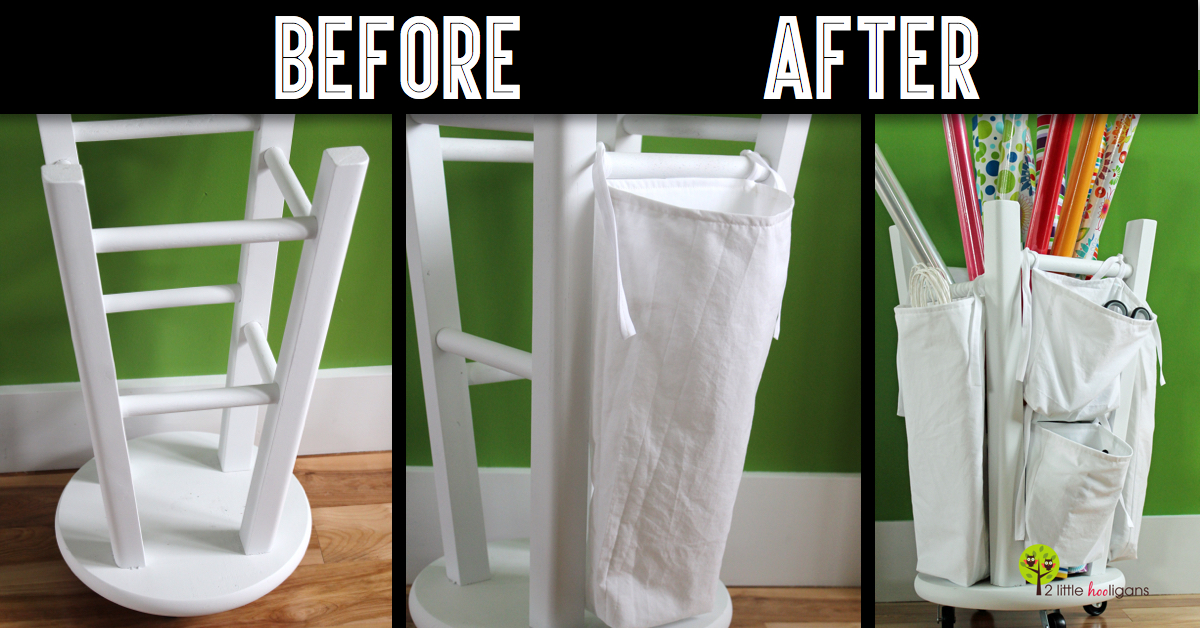
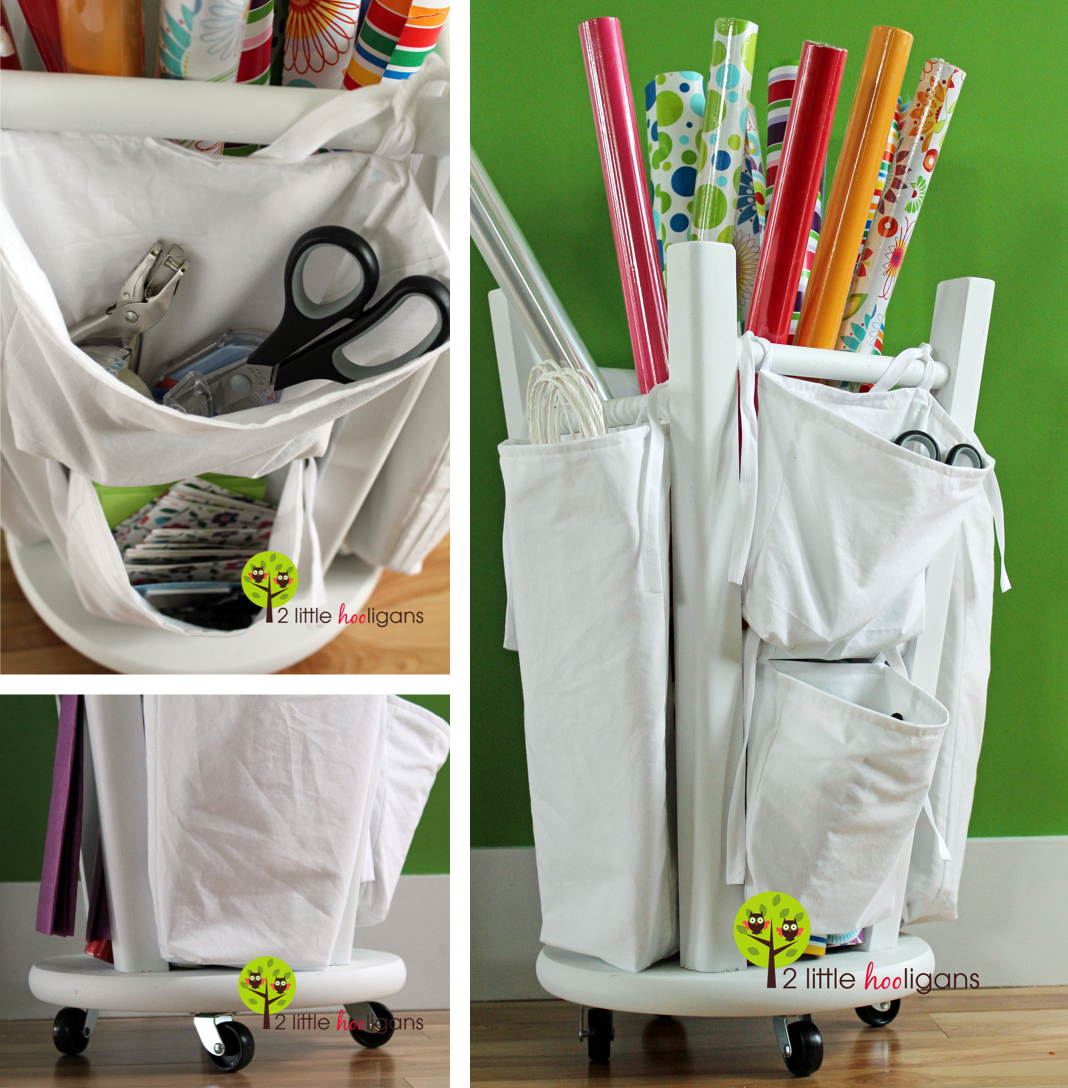
Wrapping paper is very versatile and multi-functional, and we all have at least several different colors of wrapping paper at home – in the end, you never know when you will need it! However, storing your wrapping paper can be a daunting task sometimes, and this tutorial will teach you how to efficiently, securely and effortlessly store it, for later use:

Step 1: Gather The Materials!
For this wrapping paper organizing tutorial, you will only need some basic materials and tools that you can find around your home. You will need:
- One medium-sized kitchen stool – Buy Now at Amazon!
- 2.5 yards of fabric – Buy Now at Amazon!
- Four casters – Buy Now at Amazon!
- Two packages of bias tape (or around four yards of homemade bias tape, if you do not fancy the commercial version). – Buy Now at Amazon!

Step 2: Get Started!
Place the stool on one side and start wrapping it up in fabric. After that, cut the fabric in four equal pieces, then take two of them and sew their right sides together, while leaving the widest part open (the widest part is the one closest to the top of the chair, while the narrow part is the one closest to the end of the chair’s legs/the floor).
Once you are done sewing, make sure to gently square off the edges – this is where the material slowly starts to resemble an actual bag.

Repeat the process and make three more bags – then, grab your bias tape and carefully cut it at the desired length (it is up to you to decide just how long you want the ties to be). Stitch the bias tape shut and then attach it to your wrapping paper bags – make sure to turn the bag inside out before you stitch it, though, just to keep the stitches invisible! See the full step by step tutorial on 2littlehooligans.com
See more useful organizing ideas and tutorial.
