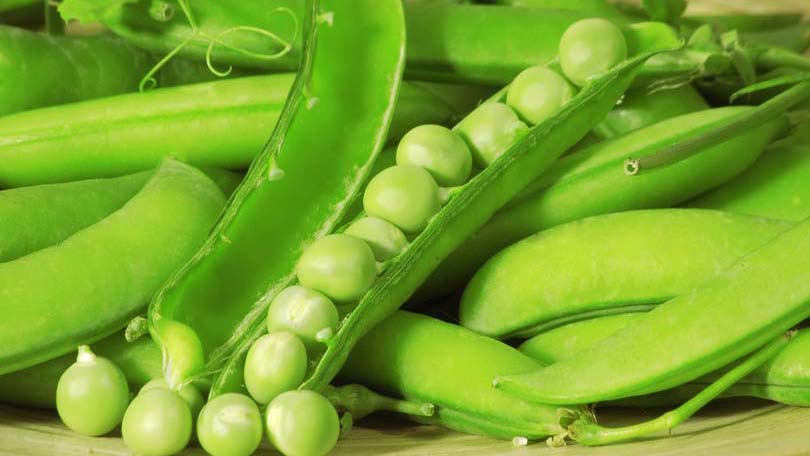
Peas are a wonderful addition to any garden. They are easy to grow and practical to store. They are also a great side-dish or addition to any meal. They are a very nutritious vegetable as they contain lots of vitamins and minerals as well as dietary fiber and protein. Better yet, they add very few calories to your diet. Planting peas in your garden, harvesting them and serving them to your family, is a good deal all around.
Planting Peas
There are many types of peas; the most common include green peas, snap peas and snow peas. They are all different in terms of taste and uses, but when growing them, the procedures and methods are the same.
Peas are a cold season vegetable that grows great in cool, moist weather. They are even frost tolerant. In the United States, they can be grown just about anywhere. They do not grow well in heat, so summer is not the time to plant them. The time to plant pea seeds is just after the last snow melts.
Peas require sunlight, good air circulation and well-draining soil to thrive. Pea plants are thirsty, so they require a lot of water, especially when they are blooming. They are also climbing plants, so they will need support for the vines.
When selecting a place for your peas, it is best to run the rows north to south in an area that gets proper exposure to the sun to ensure that they get enough air circulation and sunlight. The soil should be prepared by composting organic matter such as dried manure and dried leaves. This will make certain that the soil is fertile and well-draining. You can place trellises for the plants to climb on, or just plant them close to a netting frame or chain-link fence to provide support.
Before planting the seeds, the seeds should be soaked overnight or at least for an hour. Dusting the seeds with an inoculant, that is available in most garden centers, will improve the germination of the seeds making it easier for them to absorb nitrogen which is essential to pea roots. It will also protect them from diseases. You can also use inoculant-containing liquid compost during the process of composting your soil as an alternative to dusting the seeds.
The prepared seeds should be planted in rows that are eight to ten inches apart. In each row, the seeds should be spaced about one inch apart in a furrow that is about three inches deep with the seeds covered by about one-inch of soil. When the seedlings appear, in ten to twenty days after planting, be careful hoeing and watering because the seedlings are easily injured. The furrow will protect them until they start to grow and can then covered up. As they grow, be sure that the vines are supported well. When they start to bloom, make sure that the plants get a lot of water because they are thirsty critters.
Harvesting Peas
Knowing when to harvest the peas can be tricky. It is best to pick green peas when the pea pods appear swollen and mature. Picking them too late will result in the peas being starchy and hard. Snap peas are a little different in that they are best picked before the peas grow very large but when the pod seems to be plump. Snow peas, on the other hand, are best when they are flat instead of plump. With a little practice, you learn just when to harvest your peas for the best quality.
Storing Peas
Fresh peas are wonderful for salads, side-dishes or additions to things like stir-fry. If you can you use them right after they are harvested that is great. However, if you produce a lot of peas, storing them may be necessary. For fresh peas, they can be stored in the refrigerator for a few days. For long-term storing they can be canned or frozen. Canning peas deplete their quality a bit, so freezing them is by the far the best way to store them if you can’t use them fresh.
When freezing green peas, they should be shelled and washed well right after they are harvested. They should be blanched using boiling water for one and half minutes then submerged in ice-cold water. Drain them well and pack them in freezer containers or freezer bags leaving about a half an inch of space in the container. Be sure to remove all air if using bags.
Snap peas should be “stringed and snapped” and washed before you blanch them. Snow peas just need to washed, without the shelling, stringing and snapping. Other than that, both snap peas and snow peas can be blanched and stored using the procedures provided for green peas, except they require blanching in boiling water for two to three minutes.
