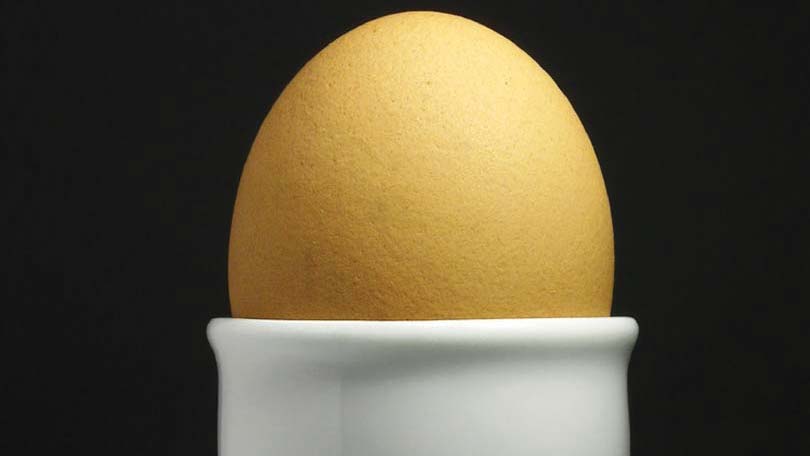
There is something summery and simple about the perfect deviled eggs or egg salad sandwich with sliced home grown tomatoes that can make them a savory and satisfying treat. Eggs are so often fried, scrambled with cheese or seasoned beyond recognition that many people forget how delicious and unquestionably healthy they can be. Certainly it is important to not eat too many eggs, but rich, natural farm fresh eggs have something that all those no yolk substitutes could never achieve- simplicity and taste! The other sensational part of eggs is that they are cinch to cook – if you follow these simple tips on to how to make hard boiled eggs.
Quick Tips on How to Make the perfect Hard Boiled Eggs
- The most annoying part of making hard boiled eggs is trying to peel them once they are cooked. Sometimes the pasty shells pull back from the whites easily and other times it seems that some sort of Elmer’s glue was used to hold the entire egg together. Since the shell is unappealing you end up throwing the whole mess in the trash. In order to make hard boiled eggs that peel easily it is best to use eggs that are at least 5 days old. Check the date to make sure that they are still good, but don’t use them fresh from the store or farm. If you have boiled a batch of eggs that are stubborn to peel, best bet is to place them in the fridge for a day or two and try again. You might have to wait for your egg salad, but at least you won’t be crunching on shells.
- The next step is to place the eggs in a single layer in your pot and cover them with 1-2 inches of cold water. Always start with cold water. Crank the burner up to high and wait until the water begins to boil. Once you see the water boiling heavily, pull them off of the stove for a minute and reduce the heat to low. By allowing them to boil to hard, the eggs can crack and run. It is advised to use a teaspoon of vinegar and a dash of salt in the water to prevent the shells from cracking during cooking.
- The third step is to place the pot back on the burner for a bit. Make sure the heat is low and allow the eggs to simmer for just one minute. This is the part where many people make a mistake. Allowing them to cook with the flame on for longer than 1 minute can lead to chalky, cracked and difficult to peel eggs. Turn off the flame and cover the pot with a lid. The lid will hold in the heat and the eggs will continue to cook at a slow pace. This phase normally takes 10-12 minutes. After the allotted time has passed, pull one egg out of the pot and check it for doneness. If you are busy, leaving them in the pot will not tend to over cook them.
- The last step is to strain the eggs with cold water or place the hard boiled eggs on ice. You can use any method you prefer whether it be a basket strainer or simply refilling the pot used for cooking until they remain cool. This cool water period allows the shell to separate from the egg white and makes a perfect hard boiled egg every time. Finally, you are ready to eat! You can create all the wonderful summertime dishes that you are craving and you will have flawless, unshelled to perfection eggs every time. Now that you know the best way to make hard boiled eggs, there are no excuses!
- Keep in mind that if you are planning to store the eggs they should be kept in the refrigerator. Keep them covered to reduce the odors from the eggs to seep onto all of your other food items and make sure to eat them within 5 days of cooking. After that period, they should be discarded! Unused eggs, shell and all are a great thing to add to your compost pile!
You may think that learning how to make hard boiled eggs is one of those no-brainer cooking essentials that every cook knows. Chances are quite a few of the experienced chefs you know have had to toss a while dozen of sulfury over cooked eggs in the trash because they were over cooked. This method is the best way to ensure that they are cooked to internal perfection and that they shell easily.
