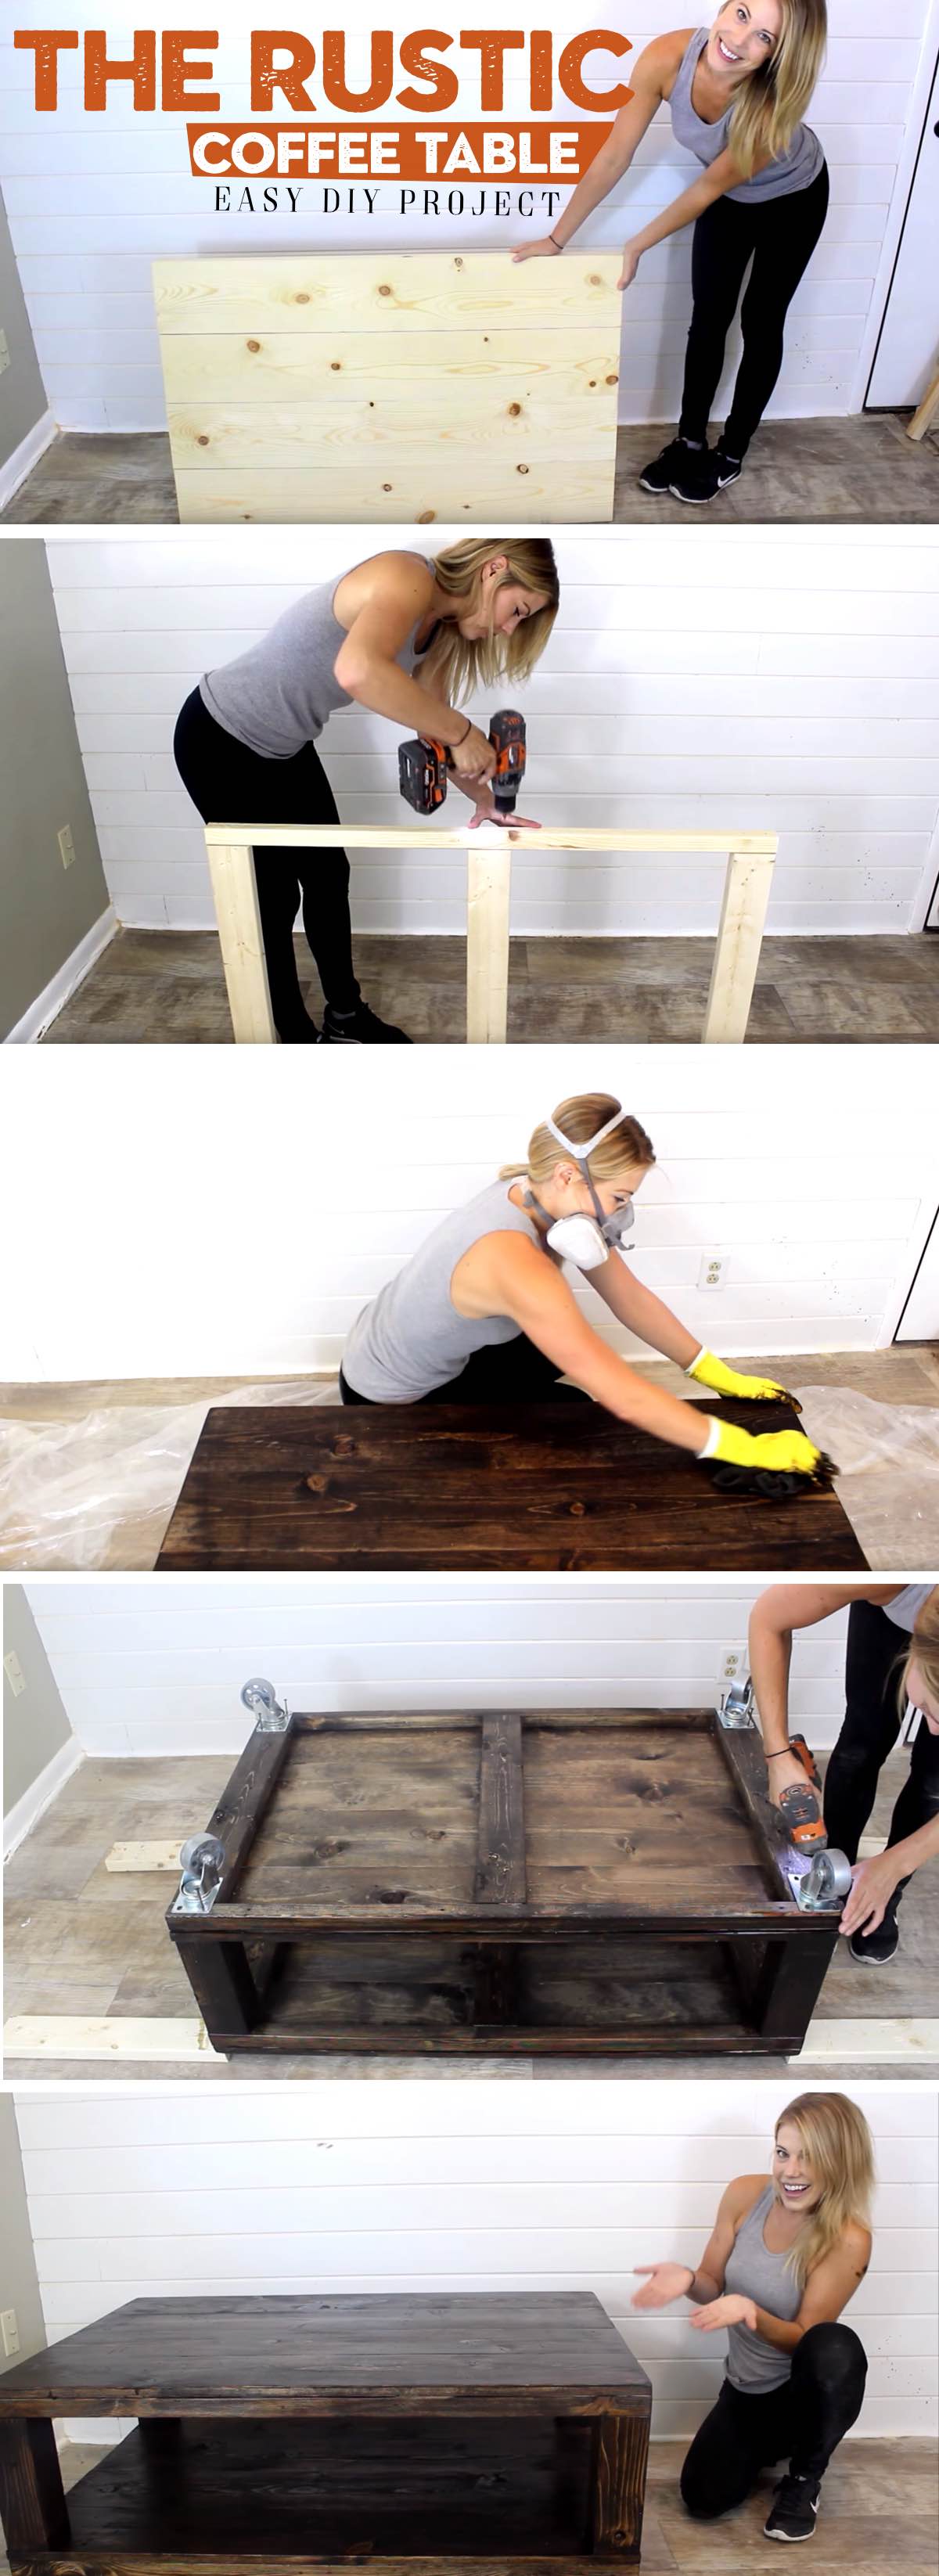
Won’t that great evening snack become even more amazing with a lovely coffee table to serve it? The market is surely loaded with this piece of furniture, but the ones with a unique rustic appeal come for heaps of dollars. Construct a coffee table with wheels on your very own.

Not only is it a cheaper alternative to the store-bought ones, but flaunts a super chic farmhouse touch to itself.
To begin with the project, you are going to need a few supplies that can be easily purchased at a hardware store. The list includes a specific cut list of wood pieces and lumber – Two 2in x 2in x 8ft, two 2in x 4in X 8ft, four 1in x 8in x 8ft, one 4in x 4in x 4ft, four 3in wheels, a few trim head screws, wood filler, a nice wood stain, polyurethane, sanding block, screwdriver, a drill machine, woodcutter, an inch tape, a pencil, a hammer and an iron rod.
The Rehab Life shares a YouTube tutorial that guides you through a detailed step by step process to building a gloriously rustic wheeled coffee table from the very scratch. All you need is some basic woodworking skills and careful handling of the drill, cutter and other tools.
The fact that the table has got wheels makes it oh so easy to move around as and when needed. And the wheels add a great charm to the overall appearance of the table too. Not to forget, the structure of this pretty piece allows enough space for storing stuff like magazines, cushions, etc.
The Rustic Coffee Table – Easy DIY Project VIDEO
(Video and pictures – via The Rehab Life)
The very first step is to have all the required wood pieces that go into the assembly of the table cut to appropriate sizes. For that, you can use an inch tape to make the measurements, further marking the sizes using a pencil. Next, grab a woodcutter and cut the pieces taking the marked positions as reference.
Then you advance to preparing the base frame that will yield the top and bottom of the coffee table. Further, the final frame that has got the four vertical pillars of the table is worked up, attaching the top and bottom to the same. You have now got the finished structure of this piece of marvel.
Now comes the section wherein you adorn the table with filling, staining and finishing it up with the final touches. Once the visible screw tops and holes are filled with wood filler, you let it dry for a while. Next, a sanding block helps to sand down the table, leaving no asymmetric edges on the structure. A fine stain goes for dying the table with the help of a cloth and a brush, further letting it dry for some time. A final coat of polyurethane is all it takes to get that perfect finish and keep the furniture protected from rust or dry dust.
For the wheels, you flip the table over and place one wheel in each corner of the bottom, attaching them with screws, and voila!
