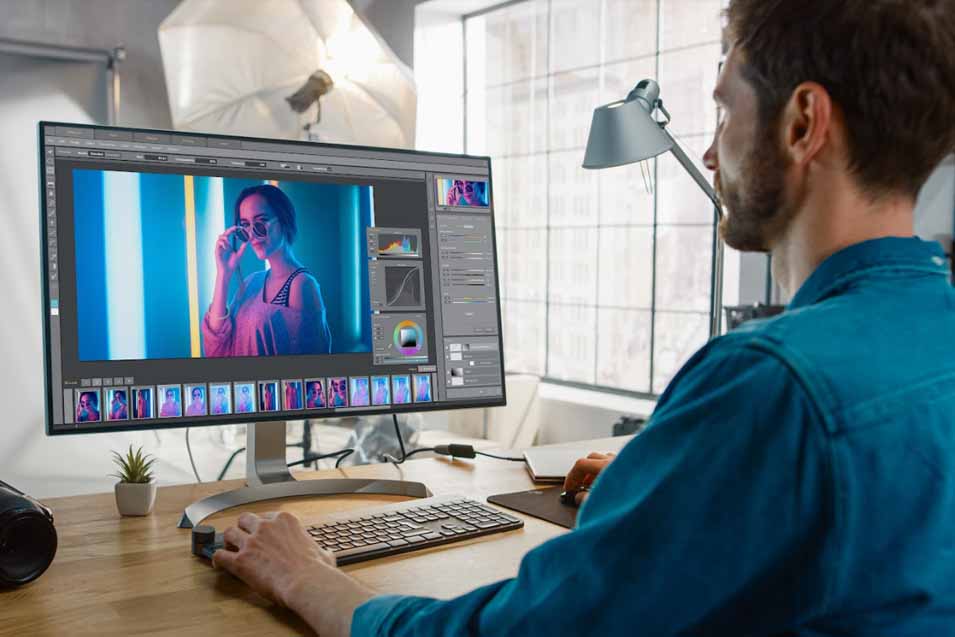
With the advent of smartphone cameras, most people now have access to capture and share photos at any moment. This has led to an explosion of mobile and desktop apps designed to improve photos and adjust them to a better quality.
There are apps created for advanced photographers and ones that are beginner friendly so that everyday people can achieve beautiful-looking photos without expensive equipment or software. With all the work that goes into photo editing, there are a few fundamentals that every photo should include. Here are the four basics of photo editing:
- Cropping And Background Removal
One of the first stages of photo editing is making sure that your photo only contains the subjects you want in the photo. This means you should go through each shot and select the people or objects you want to remove. These could be photobombers, passersby, buildings, trees, walls, or cars. You’ll want to crop out any blank spaces or flaws in the photos.
In relation to this, cropping is also useful for resizing and orienting images, especially if you upload them onto social media. Thus, doing this will ensure your photos fit within the preset dimensions of social media apps. For more drastic removal changes, you can use photo editing apps to remove unwanted backgrounds that can’t be cropped out. The same thing can be done for additions to your photos, such as effects that change your face or clothing. You can look at this website to see methods for getting this done.
- White Balance
Restoring your white balance involves correcting the natural colors and white light within your photos so that there are no unsightly shadows and dark or light tints. For instance, if your white balance is off, your photos can appear more blue or yellow depending on how much light was used. Correcting your white balance improves the tone and overall look of your shot.
If you’ve edited photos before, you’ll know that the temperature is on a scale from cool (blueish purple) tones to warm (orange-yellow) tones. You can manually correct the white balance of your photos with an app, or you can use many of the AI tools available to detect the whitest parts of your picture and adjust them to balance out the rest of the photo.
- Exposure And Color Contrast
Once you’ve completed the white balance of your photos, they will look neutral—the perfect starting point to boost the saturation or vibrancy of the shots. You can adjust the saturation manually or through photo filters that are focused on bright color changes.
You have the choice to change the colors to make them really pop out or slightly dim them for a demure-toned photo. Just make sure that you don’t oversaturate your photo, or it could lose most of its details, giving it the notorious ’fried’ photo look. Once you become more versed in photo editing, you can use tools that allow you to edit individual sections of your photos to a specific color. This can be highlighting a glaring statement piece on an outfit or intensifying green grass, for instance.


- Sharpening And Enhancing
The final aspect of photo editing is to sharpen your photo. This concerns enhancing small details that need fixing because they are blurred by distance, camera quality, or anything that appears to be out of focus. You can use photo editing tools that help define lines, borders, and features on your subject.
These soft edge tools bring more definition to your photos, for example, sharpening someone’s hair to showcase more of its texture to bring out the shape and contours of someone’s eyes. In most cases, sharpening tools will allow you to choose a feature in the photo to enhance. Furthermore, your photo sharpening should feel subtle and balanced out. Too much sharpness can cause the shot to look grainy.
Conclusion:
These are just some of the basics of photo editing. If you’re just starting to dip your toes in editing, don’t be afraid to play around with the settings while keeping the basics in mind. Ensure your photos have the proper white balance, tone, and saturation, as well as fix the cropping, get rid of unwanted objects, and enhance the clarity of a photo subject.
All this can be done using intuitive apps made for beginners that have the above functions at a minimum. These tools can be applied to social media or personal photos that only require simple editing to end up with higher-quality images.
